
The University of the Self #7
The University of the Self #7
Screenprinting Workshop


Image description: A yellow rectangle has the words ‘The University of the Self’ written upon it in white.
I have been lucky to secure a place on four printing workshops through March, funded by the Big River Bakery and the National Lottery Community Fund, which has meant that people can attend them for free (and importantly, the workshop facilitators get paid for their work too). The first of these was screenprinting, which I must admit, I have been looking forward to the most. From research I had done around the subject, I felt drawn to it, and hoped I might have an affinity for it. The printing sessions were being held at the NewBridge Print Studio and the tutor was Niall Greaves.
Rural buses are scarce so I arrived at the venue early. Luckily, the tutor was there to let me in and I was so very happy to sit quietly on my own in the studio and begin to take it in. How wonderful to have an artist’s studio! It was a wonderfully large space full of shelves, tables and equipment. I was like a plant photosynthesizing — only instead of sunlight, I was feeding on the artistic atmosphere. I was artynthesizing.
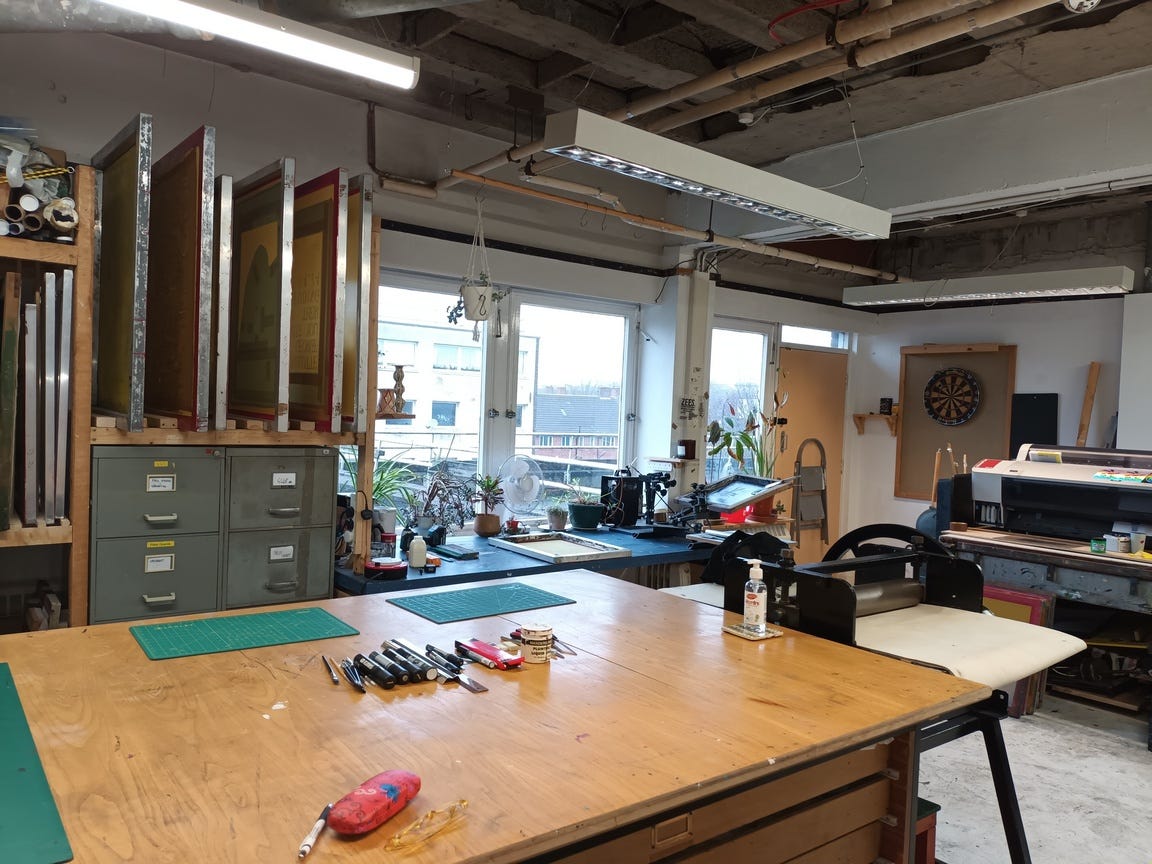
Image description: This is a photograph of a print studio. There is a huge brown wooden table in the foreground with green cutting mats on it and a selection of pens. Next to the tale is a roller press for printing.There are grey steel drawers with screenprint frames above. Next to them are three large windows, a dartboard in the corner. there is printing equipment everywhere.
I picked up this book to look at — Printmaking: A Complete Guide to Materials & Processes, by Bill Fick and Beth Grabowski.
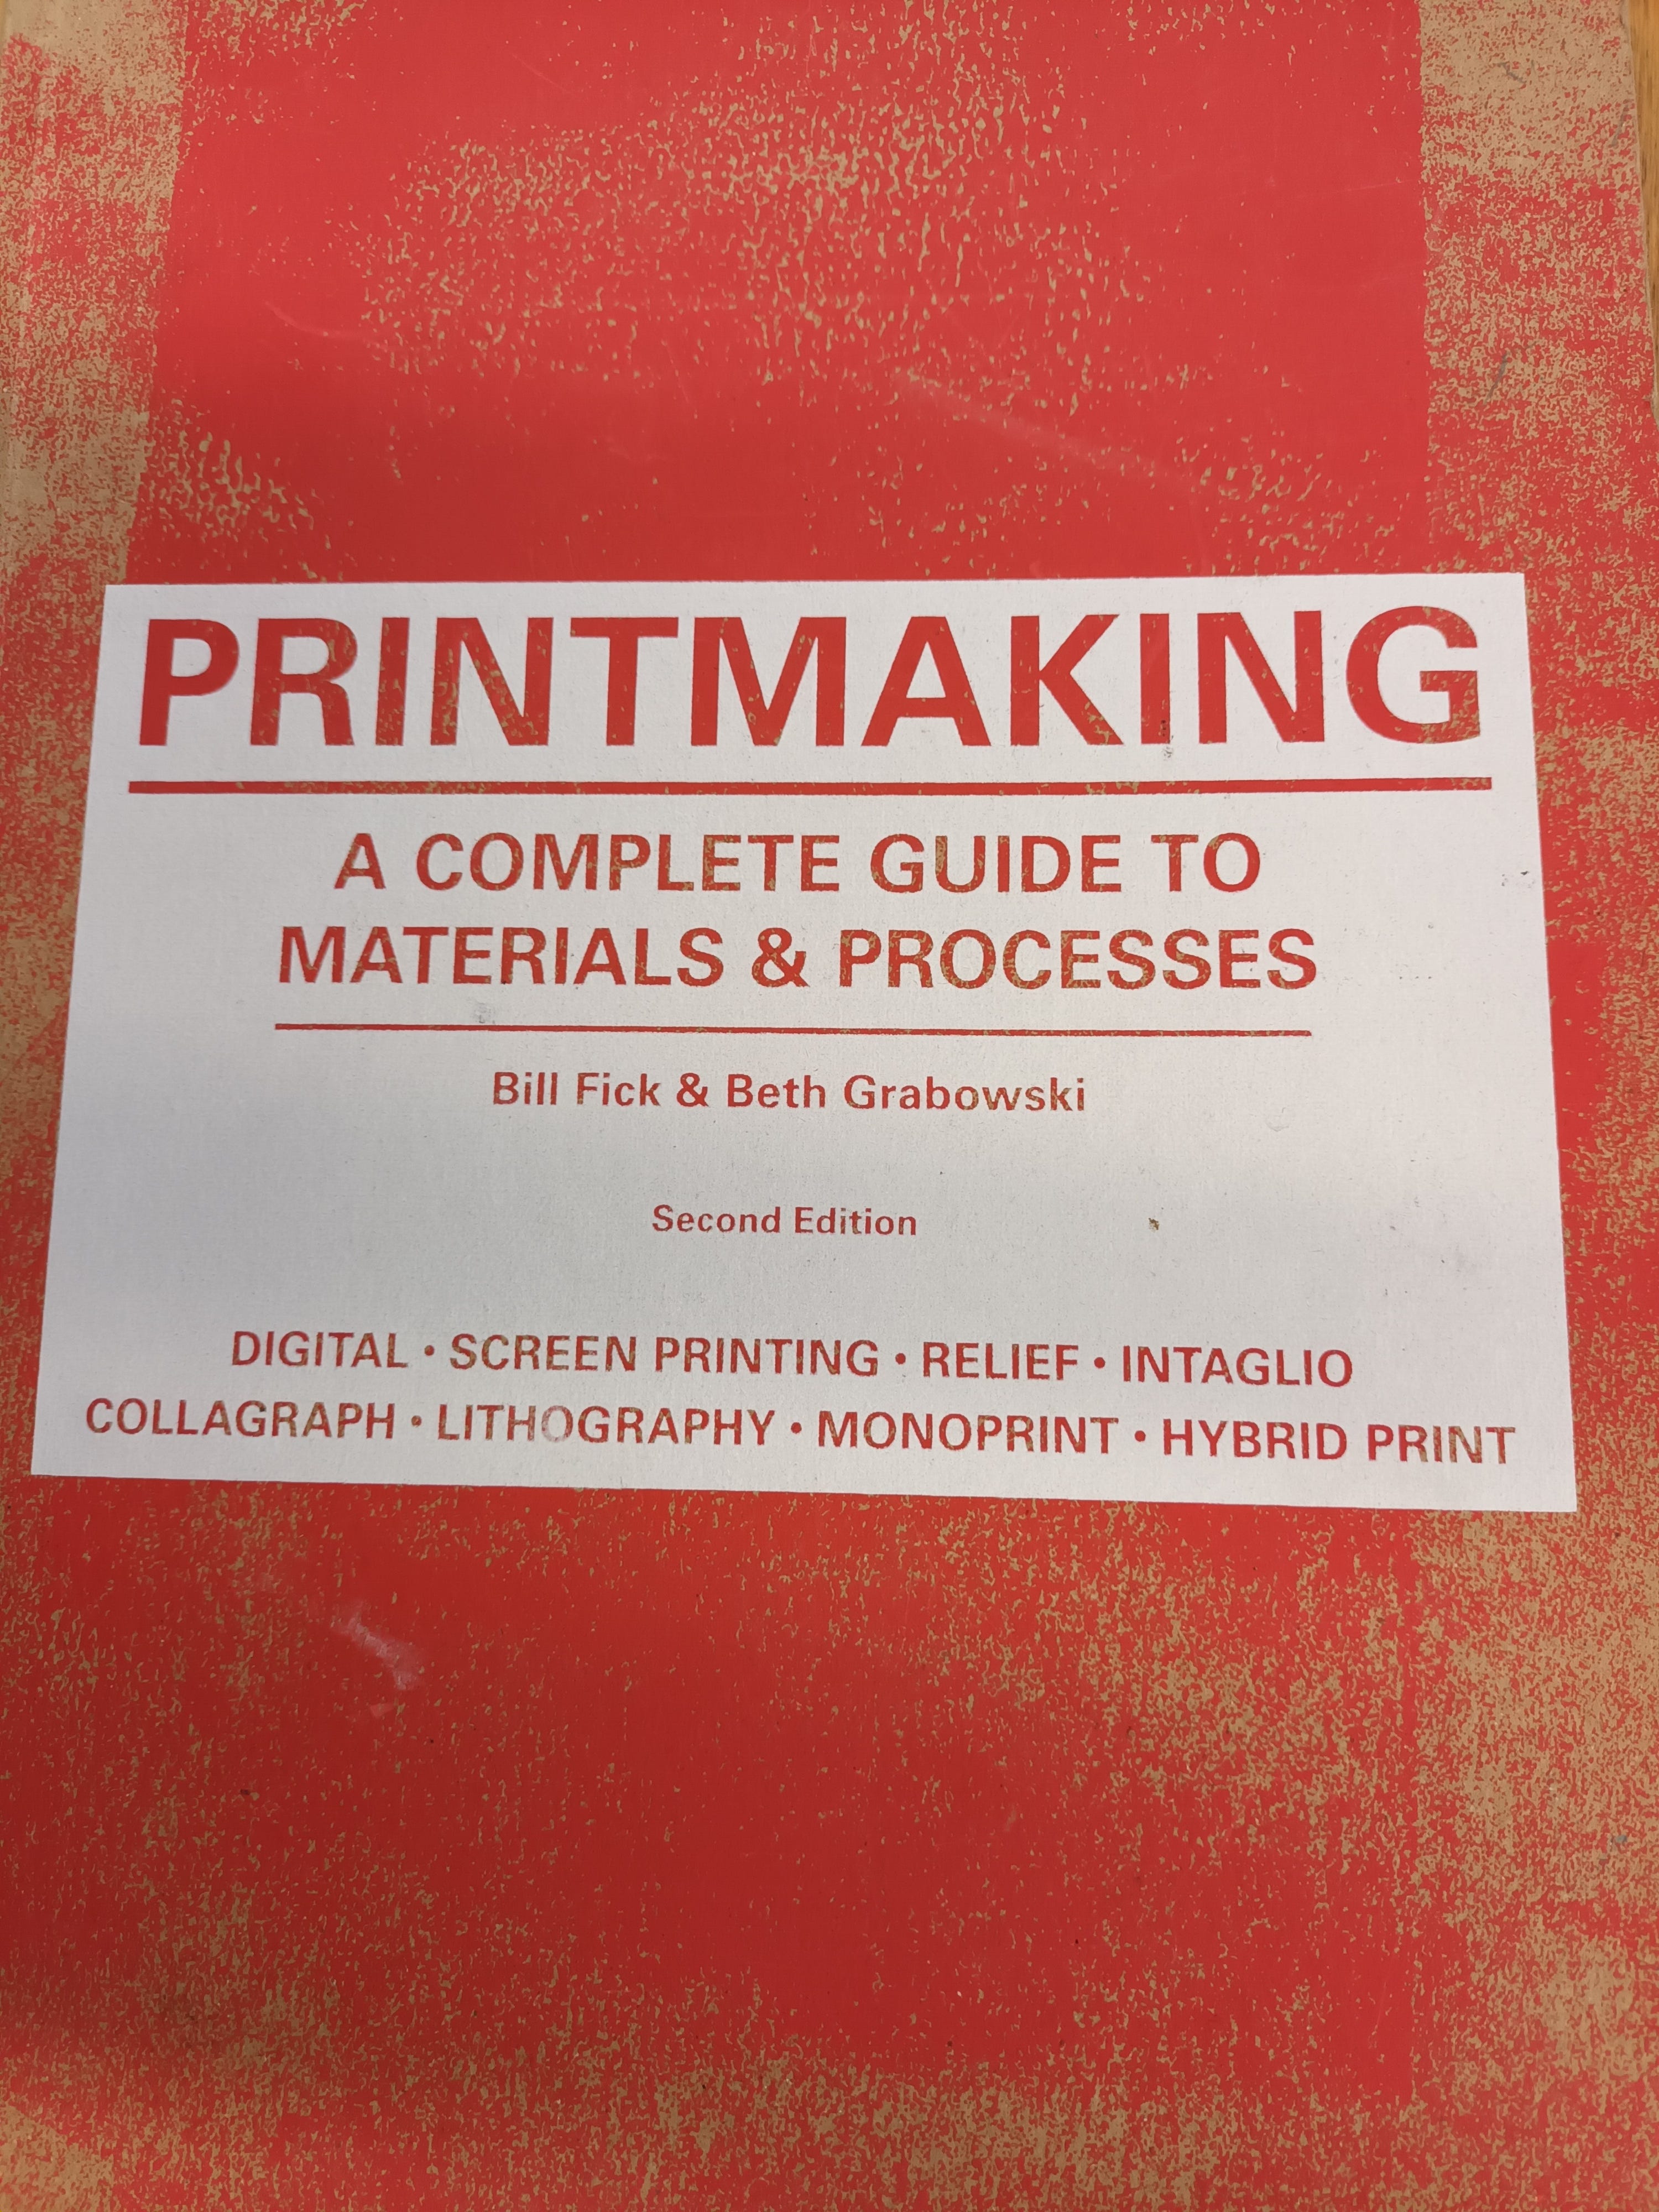
Image description: A photograph of a book cover which has a red and beige scumbled background, and a white rectagle on it with red text inside it.
”For many, the creative process in printmaking is inextricably linked to the technical process. As proofs are pulled, the printmaker becomes the choreographer on the stage of the press bed—moving, ordering, combining, amplifying, subduing, reconsidering, responding. The dialogue between the idea and process becomes intrinsic to the conceptual development of an image.” (Introduction, Printmaking: A Complete Guide to Materials & Processes)
How inspiring! Reading a few pages of this book was a brilliant way to prime my mind, ready for the session.
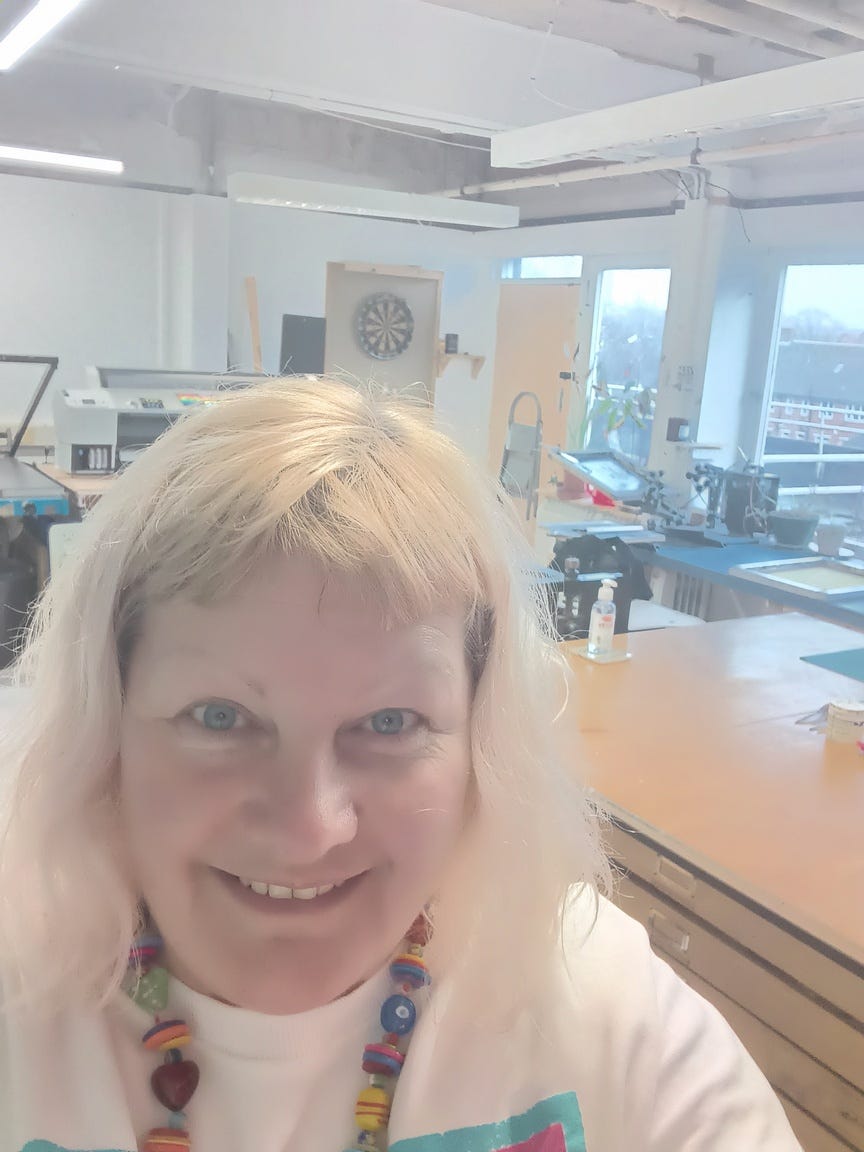
Image description: Here I am, looking somewhat excited! A woman with pale skin and blonde hair wearing a white T-shirt and coloured beads is smiling while standing in the front of the print studio.
It was ideas time. I had thought I would like to make a horse print, and had imagined that the horse might stand side-on, in a ususal horse picture stance. Perhaps it was the sheer elation I was feeling at being in an art environment that altered my idea.
I wanted to express the joy I was feeling. Elation became the horse — happiness became its leaping. The horse leapt from my head to the page. The horse is looking forwards, beyond the page into a future none of us can read, but it is looking so intently, so alertly into a place we cannot know — all its muscle, strength, power and energy are pinned there. I sensed this place is always in front of both of us — the horse and me. An unknowable place, a potential place, a future place. A positive movement, a leap of faith, a moment of courage.
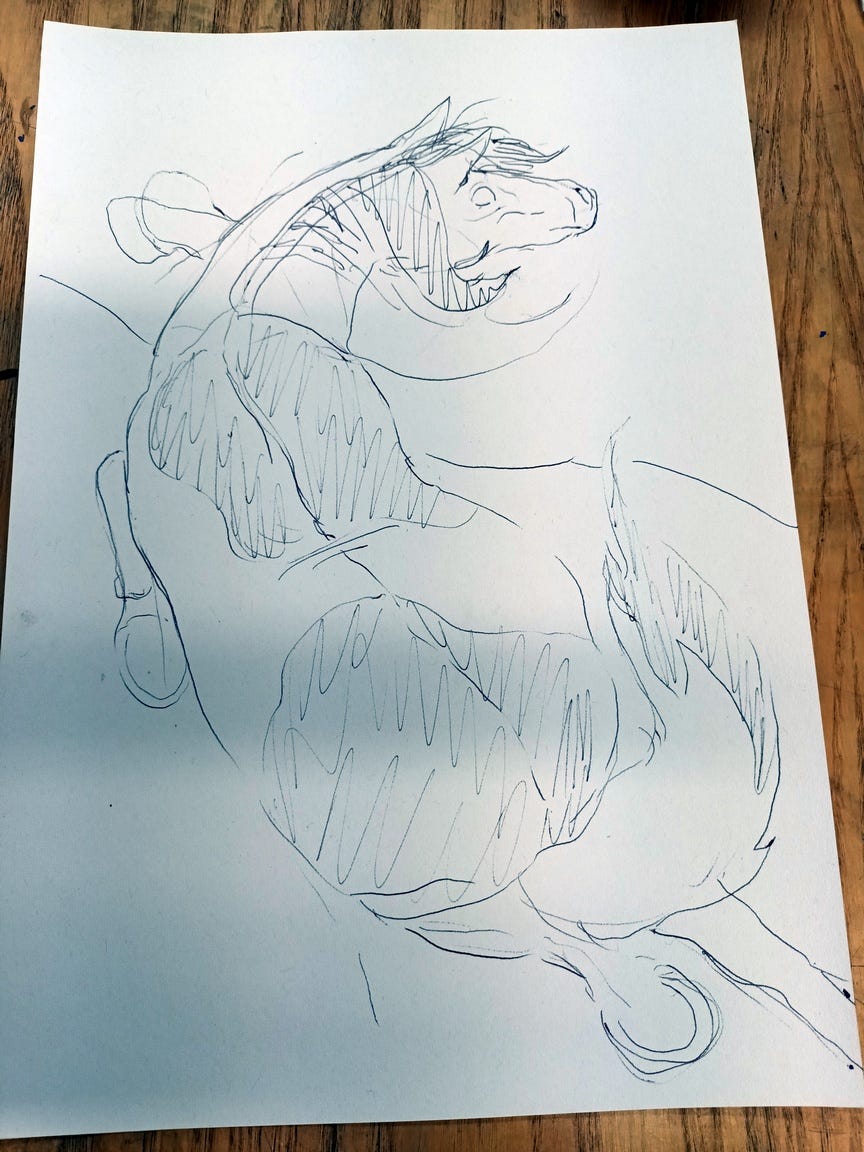
Image description: A white piece of paper rests on a brown wooden table. On the paper is a sketch of a leaping piebald horse done in black pen.
The next stage was to draw the design up on acetate. I knew that I was pushing my luck, but I really wanted to make a two-colour design. The tutor suggested a one colour design but I explained that despite having never done this before, I felt very confident within art and craft spheres, and was a very fast and focused worker. Thankfully I was allowed to do so. I created two acetates - the horse and the background.
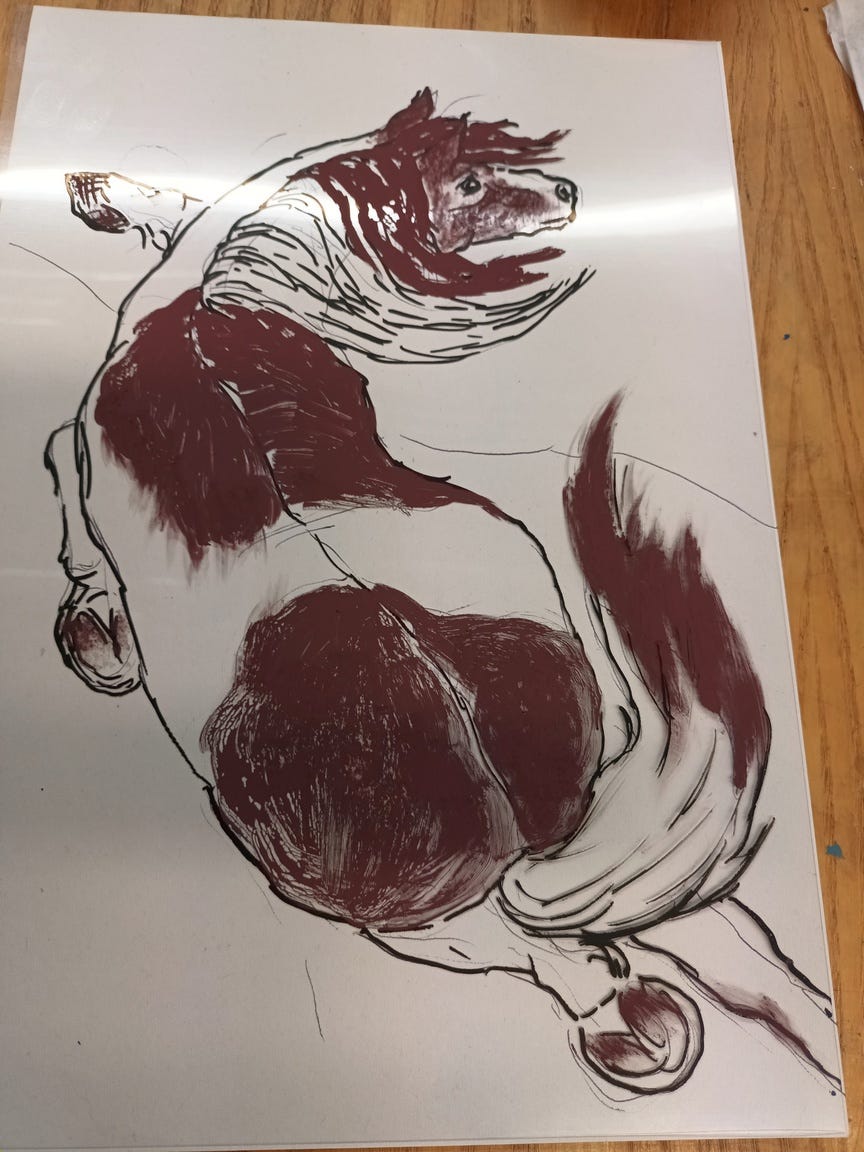
Image description: I have traced then painted my horse on a piece of acetate - the details of the piebald markings, mane, tail and hooves are brought out in much more detail.
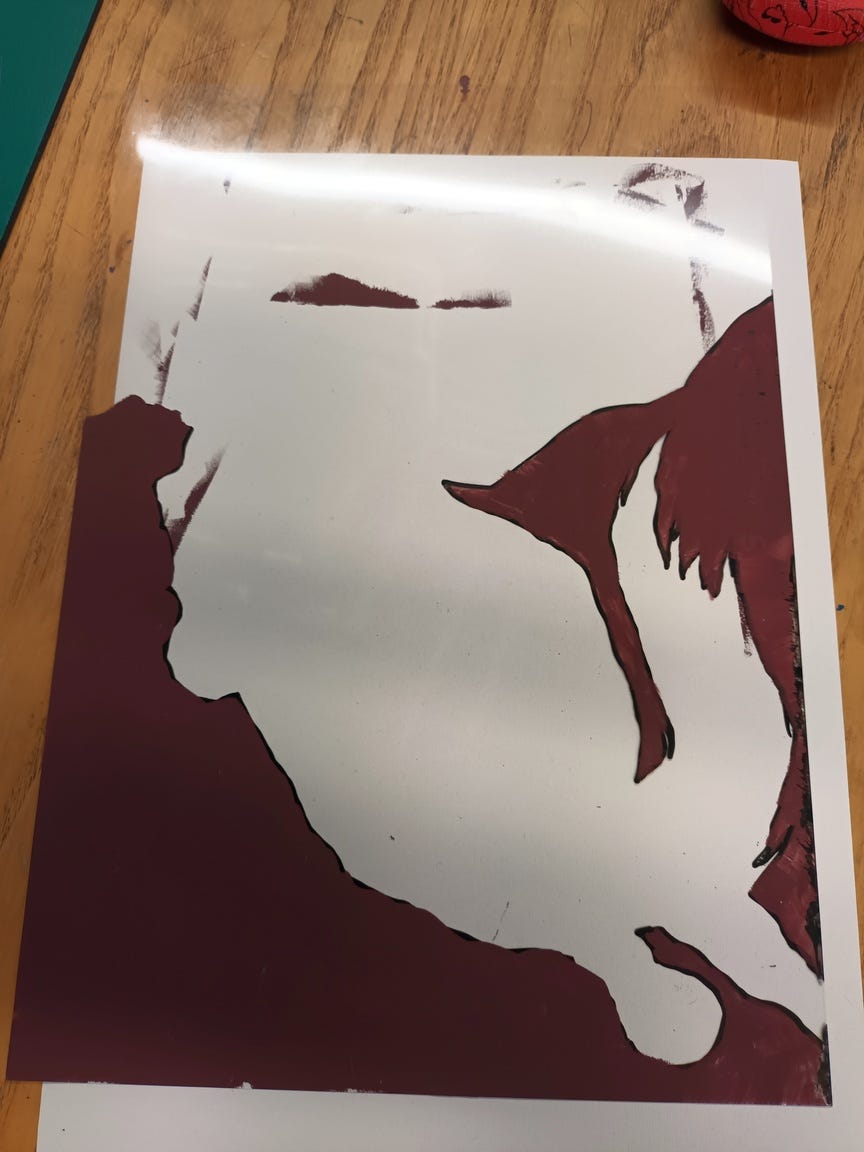
Image description: this is the second part of the image — on another piece of acetate I have left the body of the horse blank and have coloured in a section of land around it.
Next, I covered the screenprinting frame with green-coloured photo-sensitive emulsion and let it dry. I don’t have a picture of this stage. The acetates with the design on were put underneath the frames on the bed of an exposure unit, which, when closed creates a vacuum to hold the frame tight and allow no movement or interference.
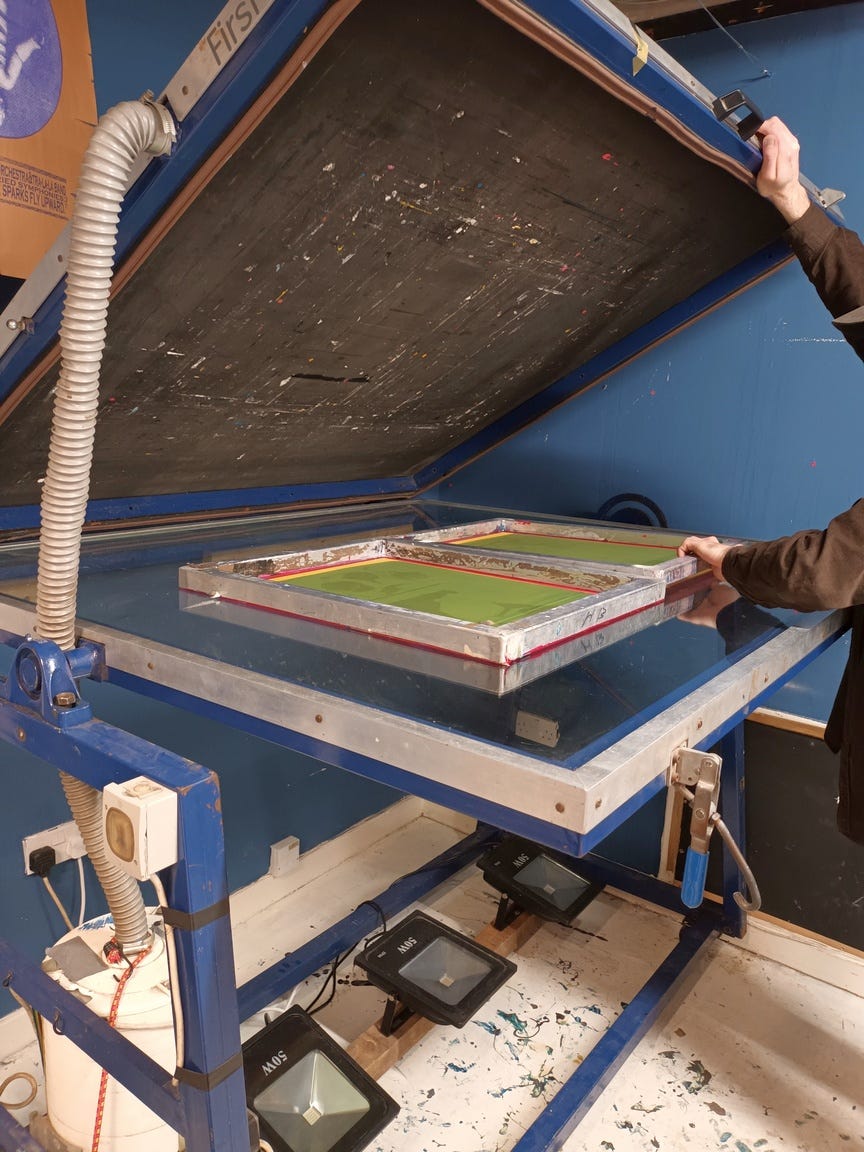
Image description: This is a photograph of the exposure unit — a blue metal frame holds a large glass bed on which two screenprinting frames are placed. The lid of the unit is lined with paint-splattered black rubber and is being held up by someone’s hand. There is a white corrugated pipe coming out of the side of the lid.
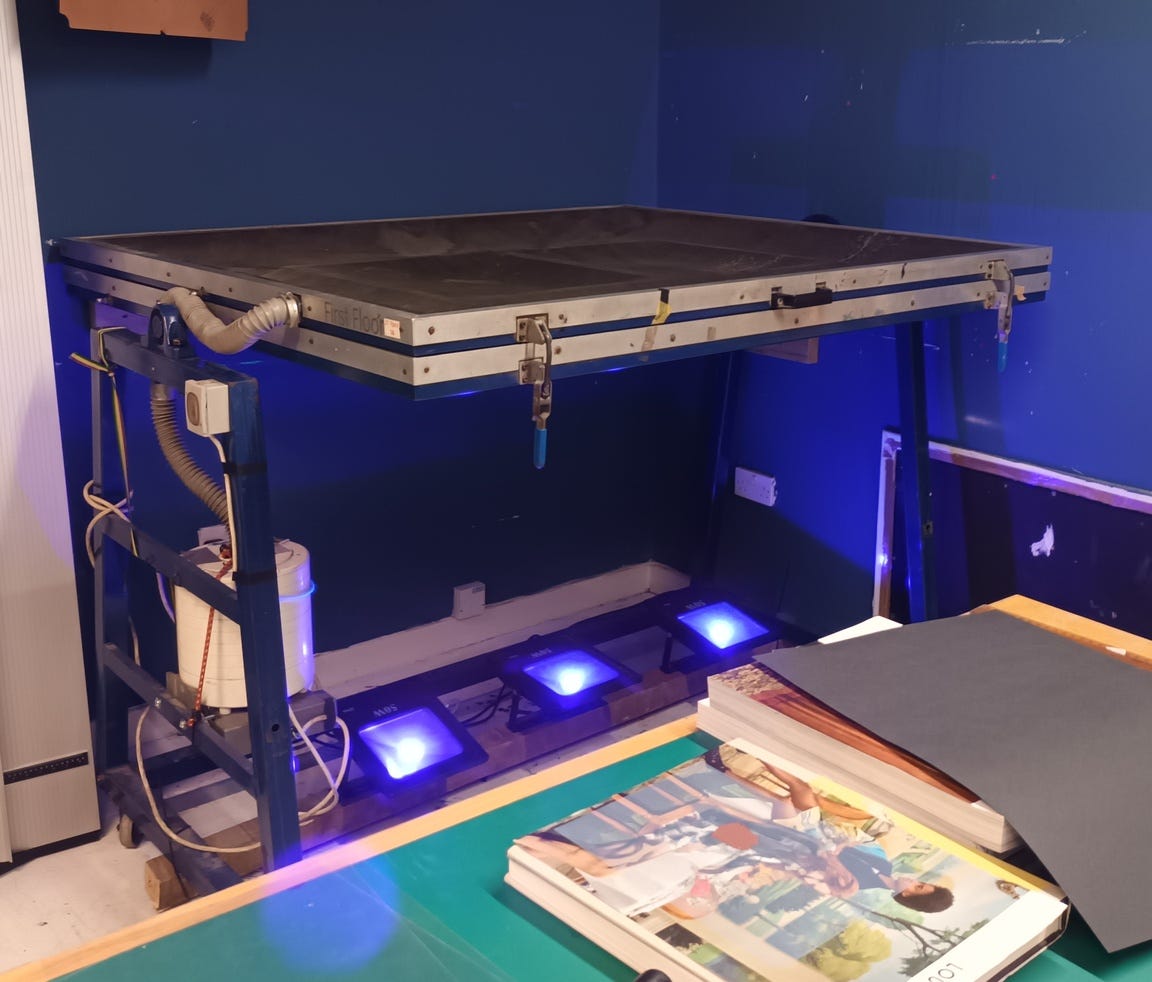
Image description: The black rubber lid is closed and the air has been sucked out from between the lid and base. The two screenprinting framed are standing out as outlines beneath the rubber lid. Three square blue UV lights are switched on beneath the glass base in order to shine upwards and develop the design onto the screenpritnting frame. You can see a green cutting mat and a pile of books and paper in the foreground.
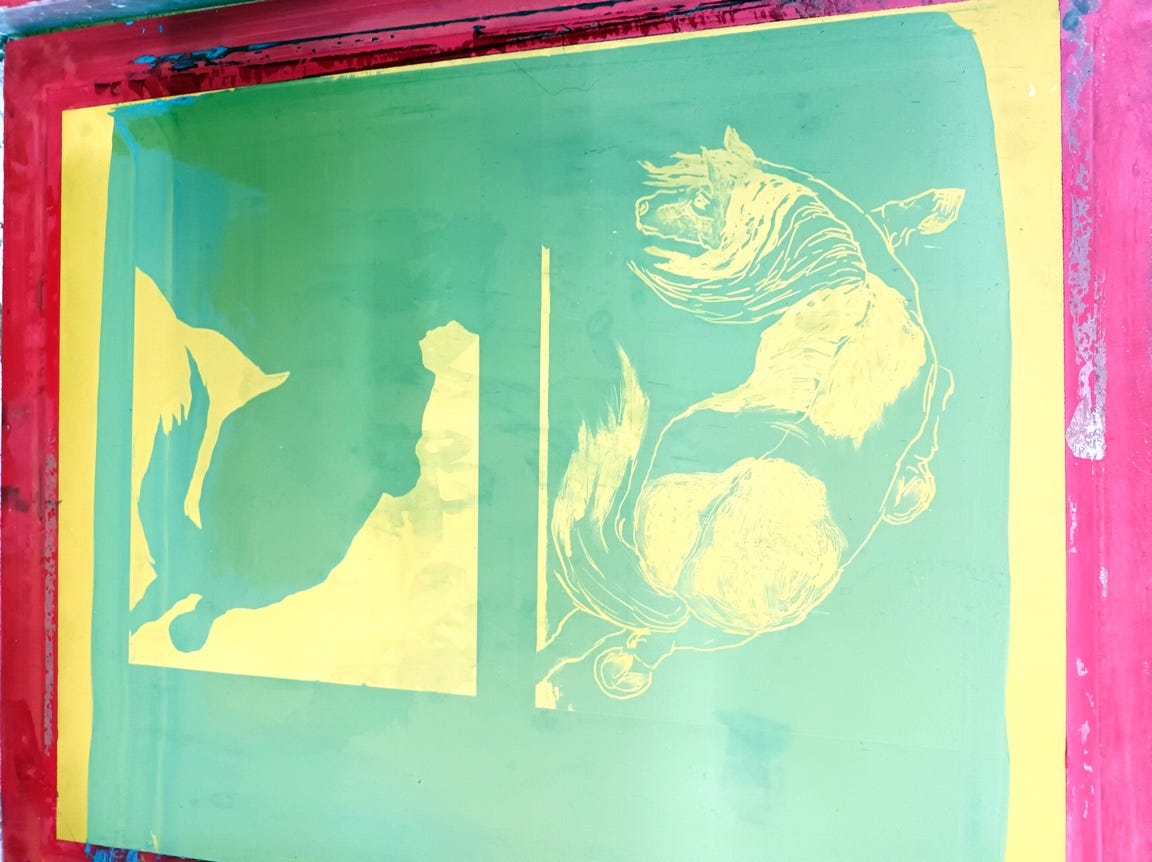
Image description: this is a close up picture of the screenprint frame. The frame is stained with red paint. The green emulsion has been washed away to reveal the images of the leaping horse and the land behind exposed in yellow.
The screenprinting frame was fixed into a hinged metal frame and the paper was located with tape beneath it. The screenprinting frame was then lowered almost down to the page. I added the first layer of red ink for the background and used the squeegee to flood the ink in one direction, away from me, with light pressure. Then, I lowered the frame down to the paper and with more pressure, pulled the ink back over the image.
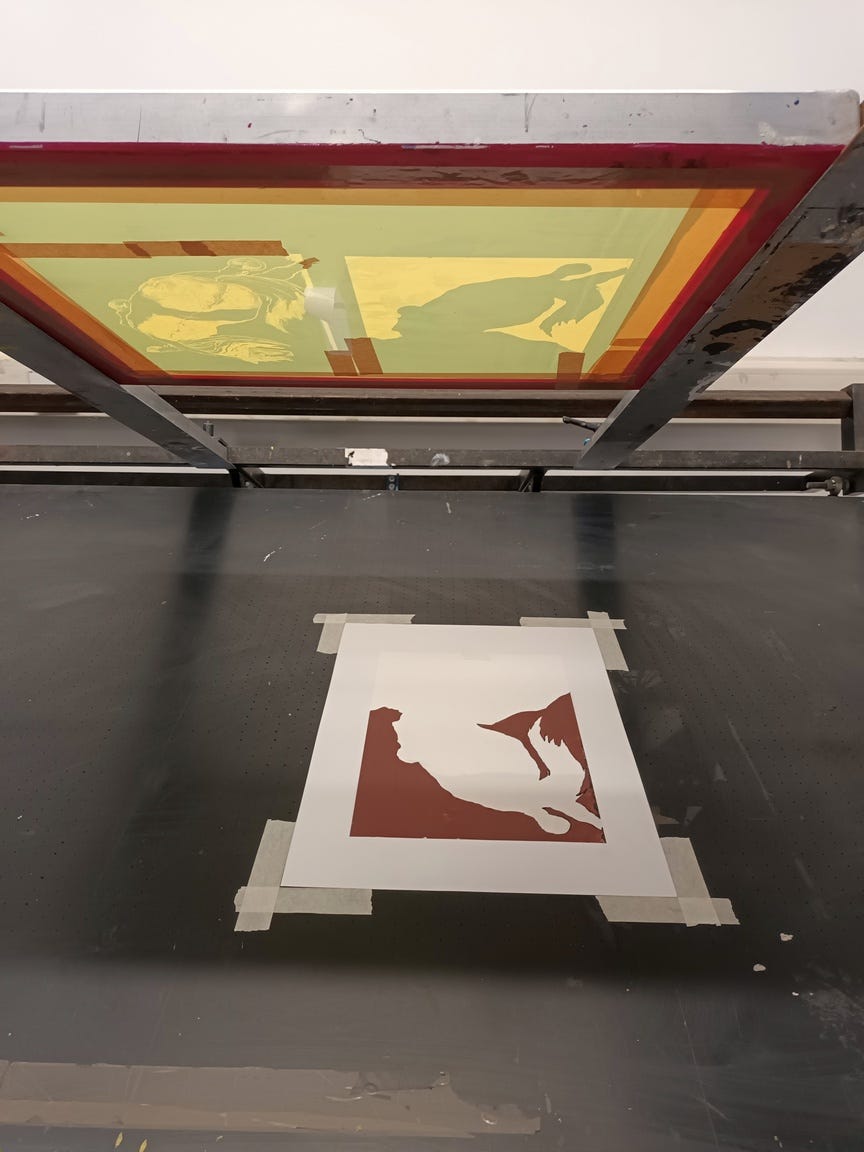
Image description: On a black table, a piece of paper has been located at the corners using tape. On the paper, the first layer has been printed — the land, in red. Raised above, is the screenprinting frame (with the green and yellow stencil markings, held in a hinged metal frame, so that it can be lifted up and down.
The process was repeated with the second colour to add the body of the horse. I didn’t take a picture of this stage as the workshop was moving along fast and other people needed a turn.
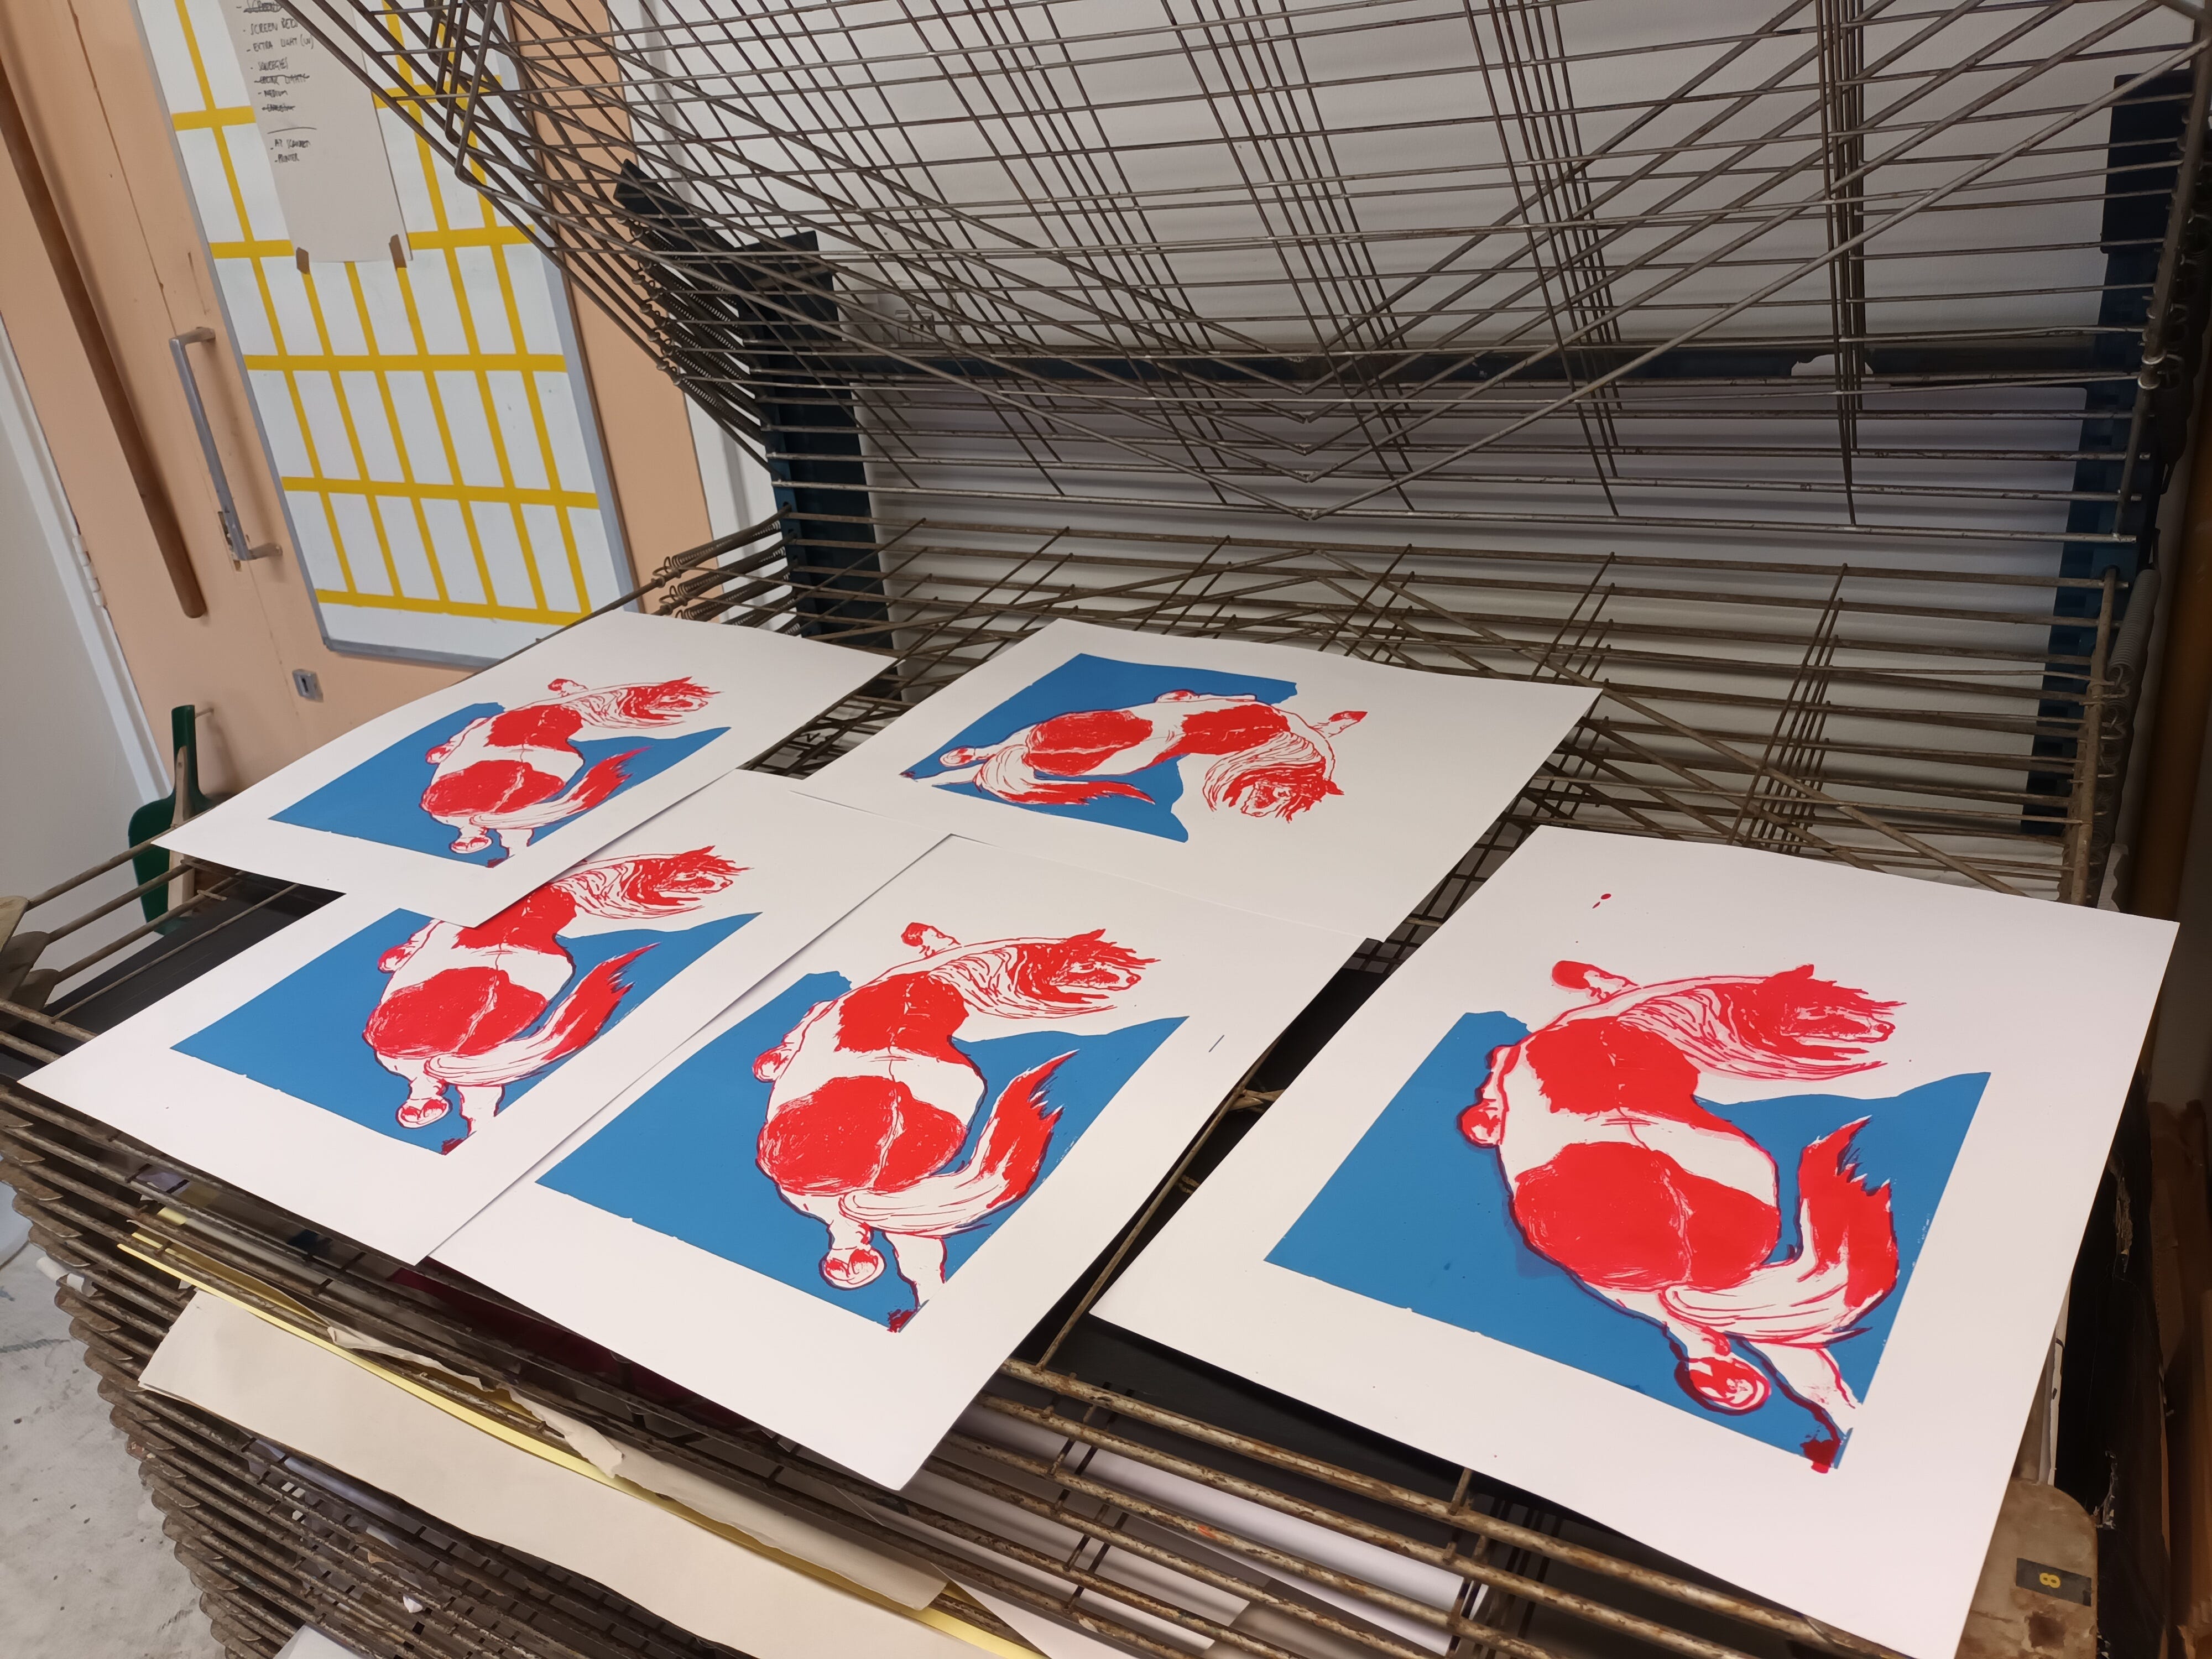
Image description: here are the five prints I made, resting on a wire drying rack. They are of a blue background which could be sea or land, and the horse is red and white.
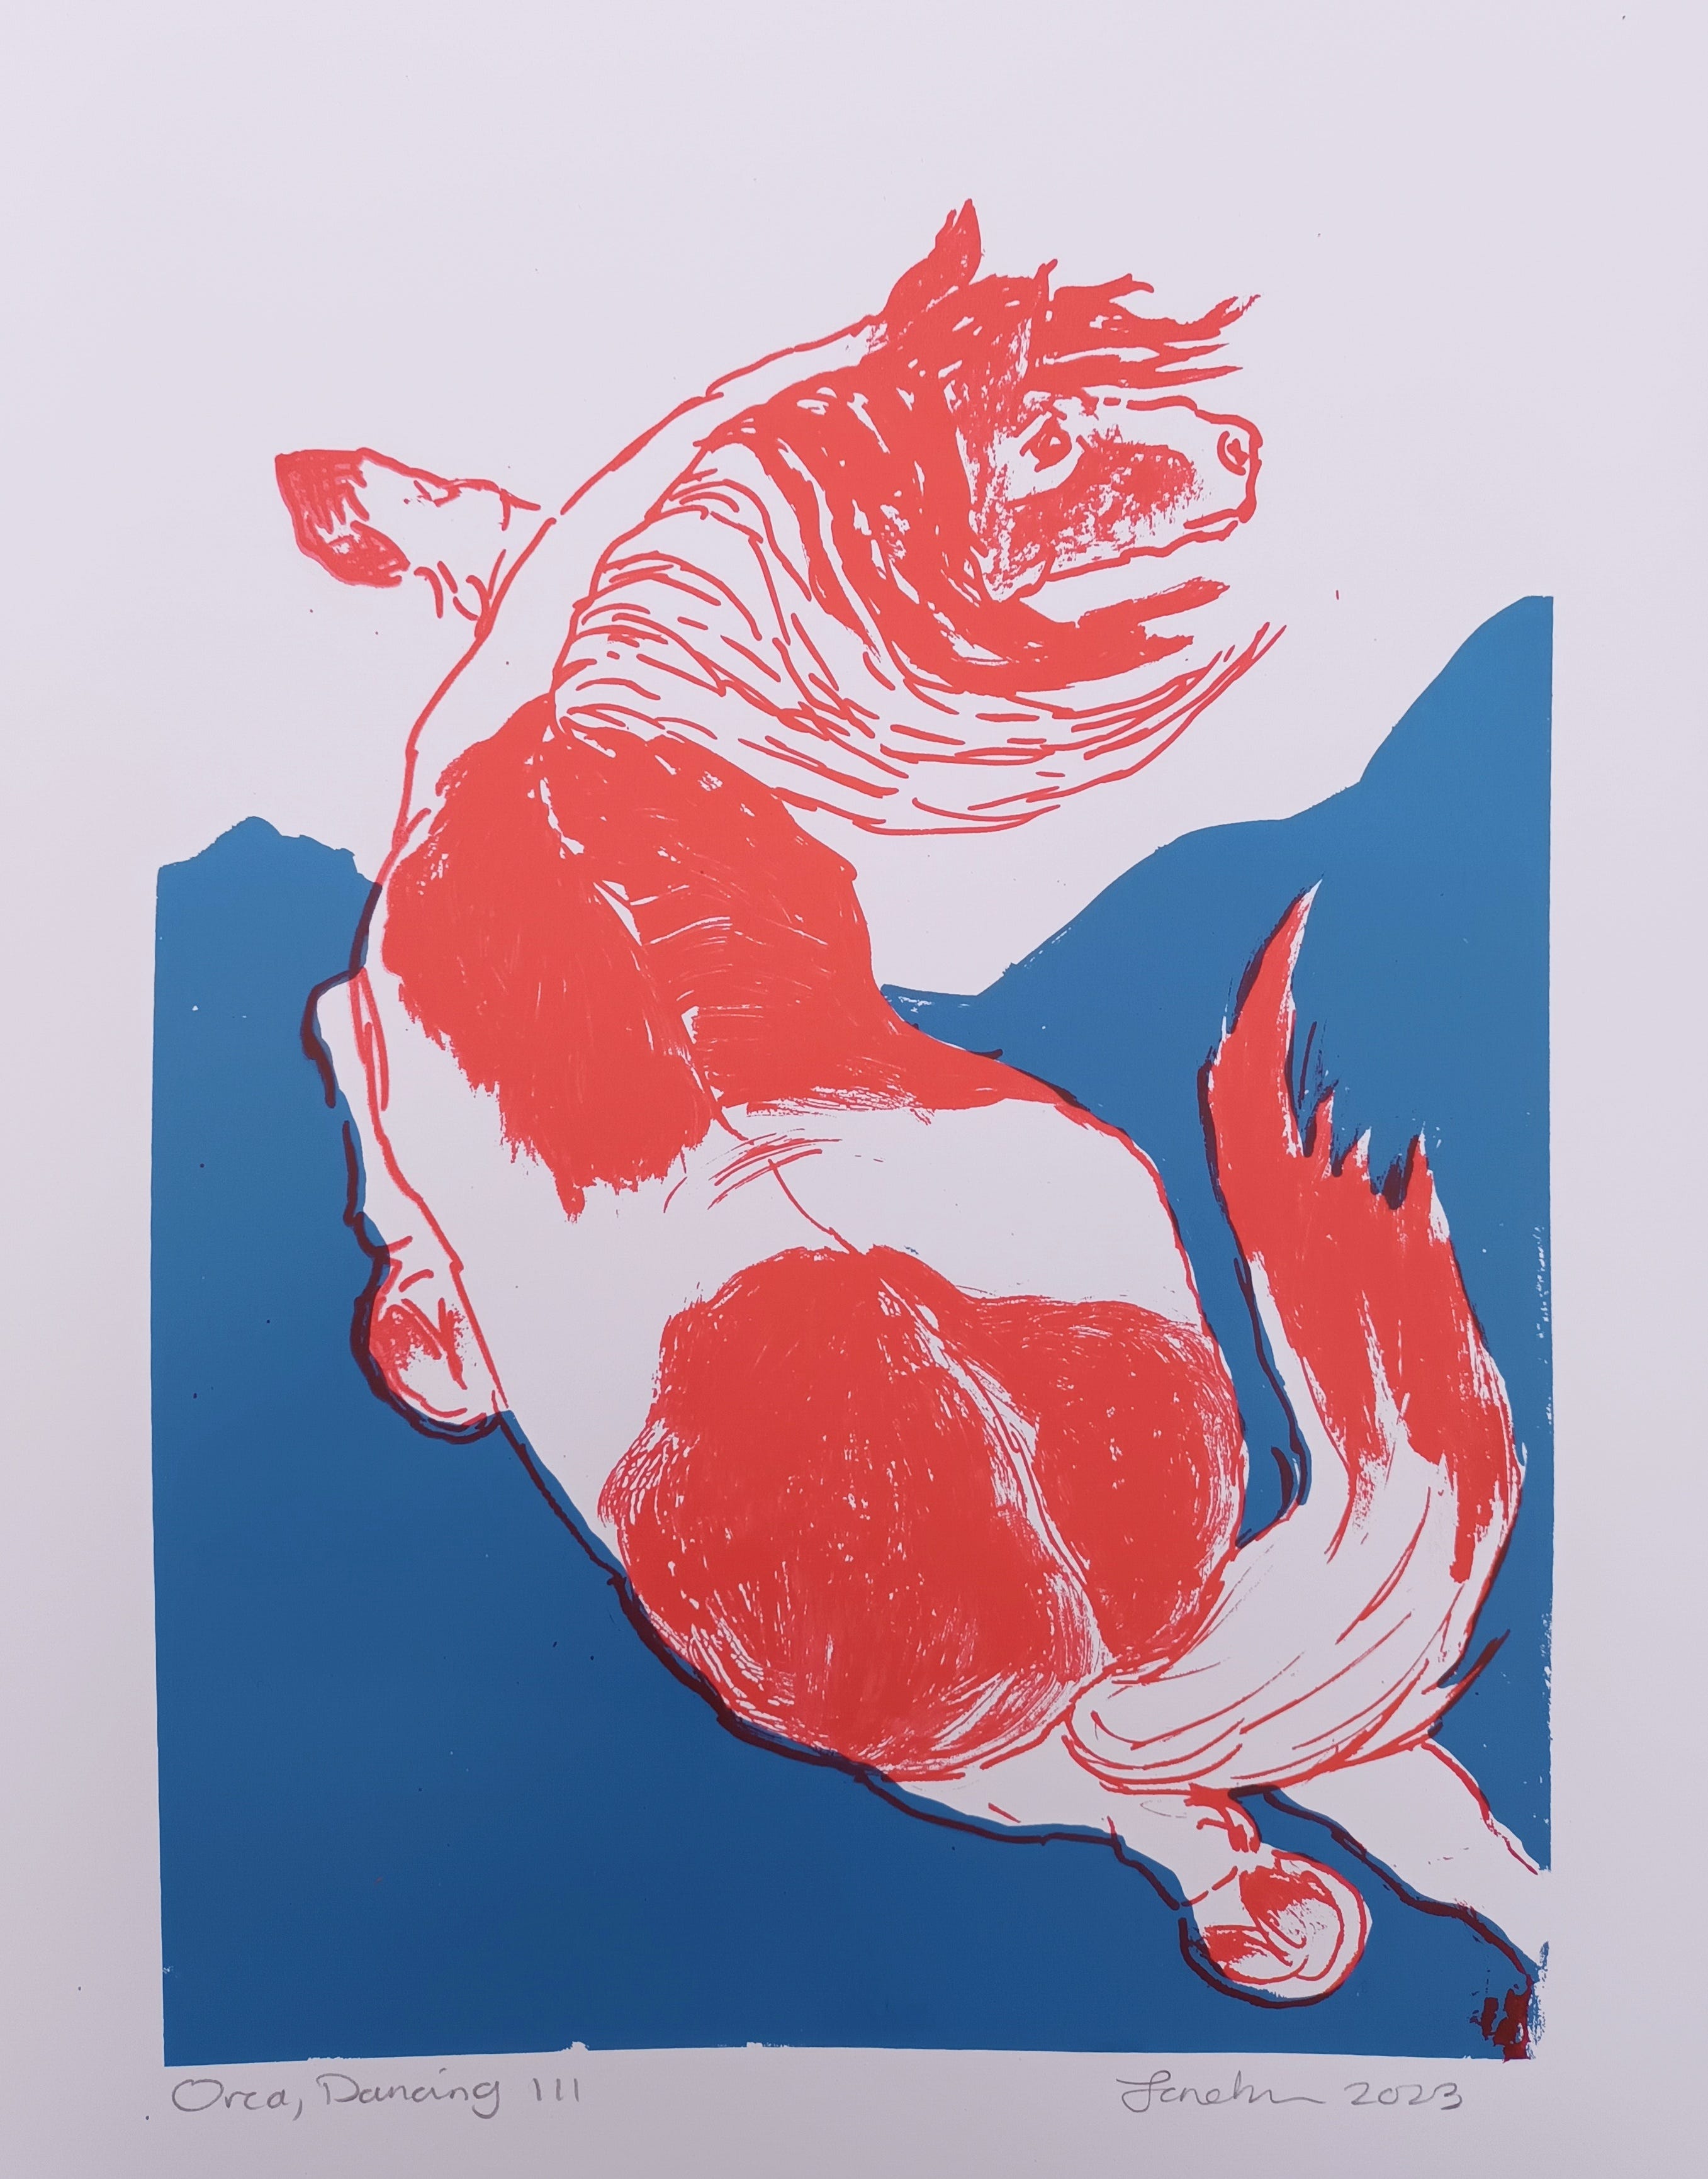
Image description: the finished print on white, rectangular paper. There is a blue background which could be sea or land, and the horse is red and white.
———————————————————————————————————-
I have currently left my Substack free, but if anyone should feel like sending me a tip (although there is no pressure to do so) in exchange for my tips, you can ‘buy me a coffee’ here . Many thanks.
I must add the usual disclaimer here: I am not spondored or paid by any of the websites I link to (I do this in an attempt to help others find and may or may not agree/disagree with any/some of the content - sharing does not immediately equal endorsment